

To insert a SmartArt graphic:
Select the slide where you want the SmartArt graphic to appear.
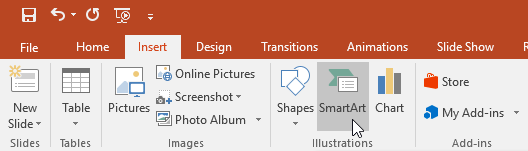
From the Insert tab, select the SmartArt command in the Illustrations group.
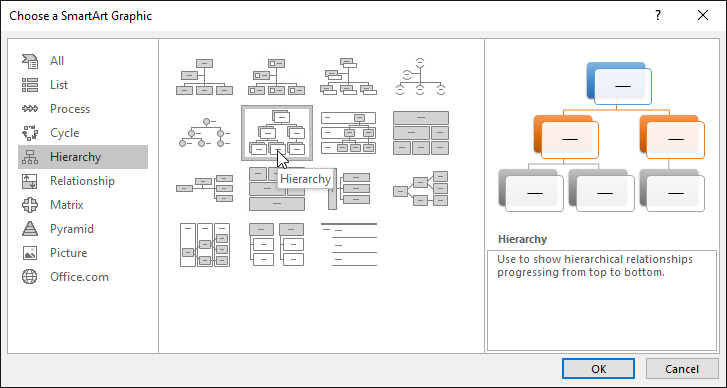
A dialog box will appear. Select a category on the left, choose the desired SmartArt graphic, then click OK.
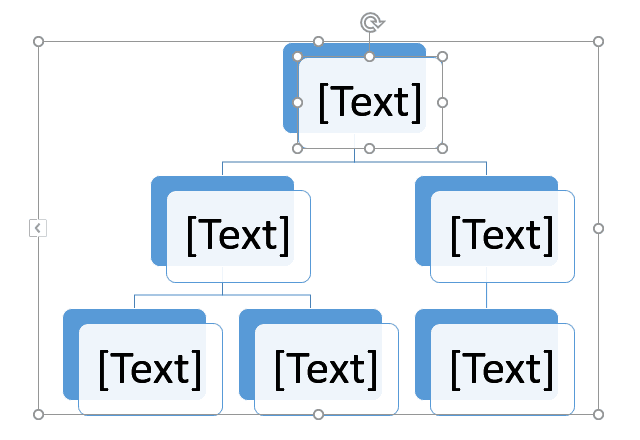
The SmartArt graphic will appear on the current slide.
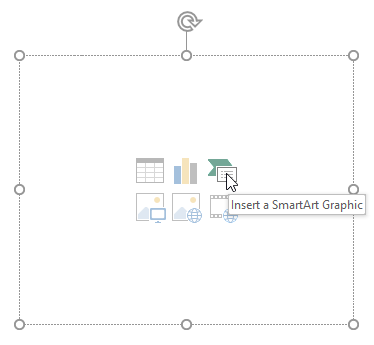
You can also click the Insert a SmartArt Graphic command in a placeholder to add SmartArt.
To add text to a SmartArt graphic:
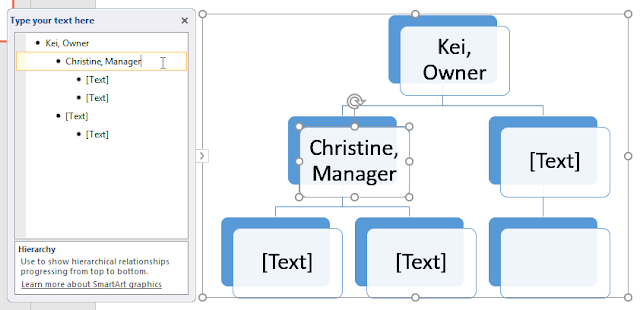
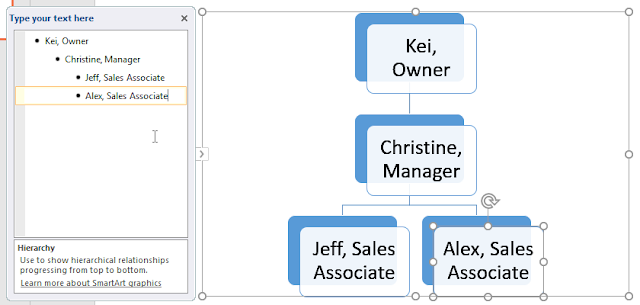
Select the SmartArt graphic. The text pane will appear to the left
Enter text next to each bullet in the text pane. The text will appear in the corresponding shape. It will be resized automatically to fit inside the shape.
You can also add text by clicking the desired shape and then typing. This works well if you only need to add text to a few shapes. However, for more complex SmartArt graphics, working in the text pane is often quicker and easier.
To reorder, add, and delete shapes:
It's easy to add new shapes, change their order, and even delete shapes from your SmartArt graphic. You can do all of this in the text pane, and it's a lot like creating an outline with a multilevel list. For more information on multilevel lists, you may want to review our Lists lesson.
To demote a shape, select the desired bullet, then press the Tab key. The bullet will move to the right, and the shape will move down one level.
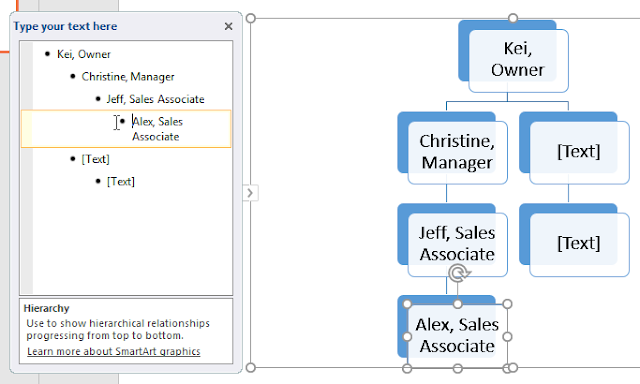
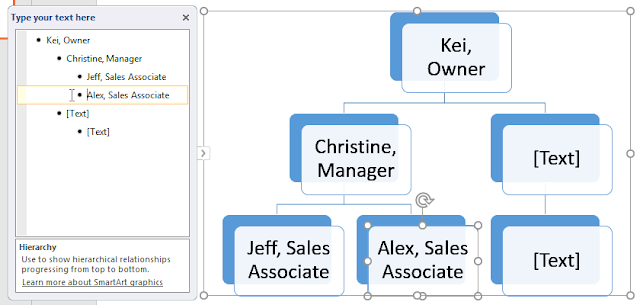
To promote a shape, select the desired bullet, then press the Backspace key (or Shift+Tab). The bullet will move to the left, and the shape will move up one level.
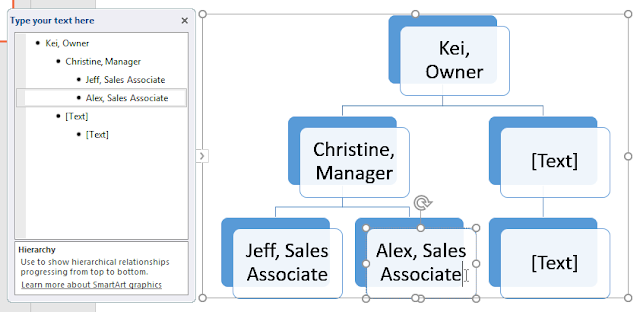
To add a new shape, place the insertion point after the desired bullet, then press Enter. A new bullet will appear in the text pane, and a new shape will appear in the graphic.
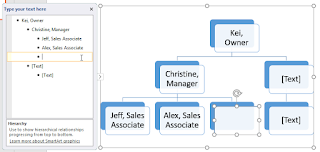
To remove a shape, keep pressing Backspace until the bullet is deleted. The shape will then be removed. In our example, we'll delete all of the shapes without text.
Organizing SmartArt from the Design tab
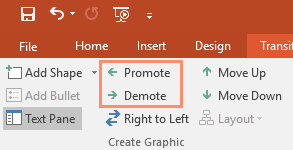
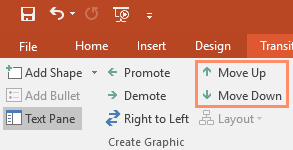
If you'd prefer not to use the text pane to organize your SmartArt, you can use the commands on the Design tab in the Create Graphic group. Just select the shape you want to modify, then choose the desired command.
Promote and Demote: Use these commands to move a shape up or down between levels.
Move Up and Move Down: Use these commands to change the order of shapes on the same level.
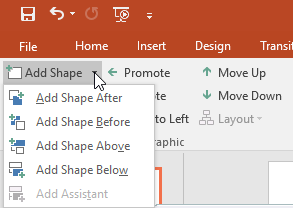
Add Shape: Use this command to add a new shape to your graphic. You can also click the drop-down arrow for more exact placement options.
In our example, we've been organizing a graphic with a hierarchical layout. Not all SmartArt graphics use this type of layout, so remember that these commands may work differently (or not at all) depending on the layout of your graphic.