To insert a table:
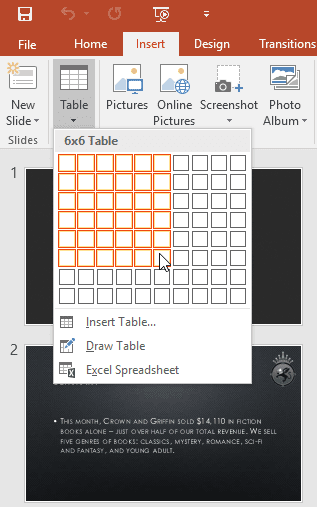
From the Insert tab, click the Table command.
Hover the mouse over the grid of squares to select the desired number of columns and rows in the table. In our example, we'll insert a table with six rows and six columns (6x6).
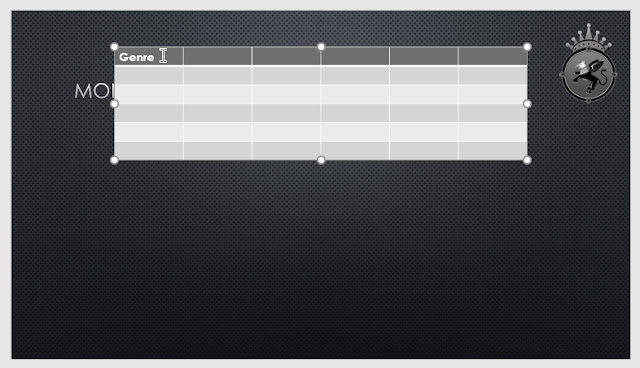
The table will appear on the currently selected slide. In our example, that's slide 3.
Click anywhere in the table, and begin typing to add text. You can also use the Tab key or the arrow keys on your keyboard to navigate through the table.
You can also insert a table by clicking the Insert Table command in a placeholder.

To move a table:
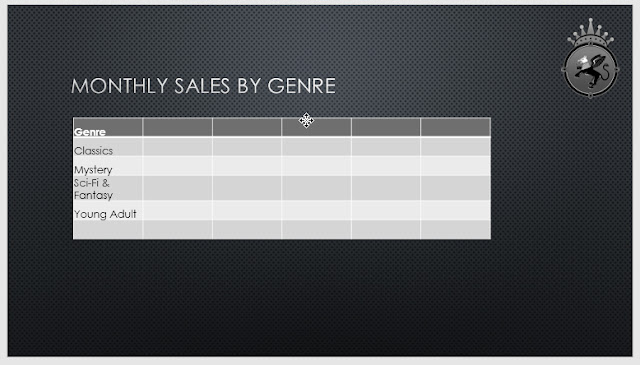
Click and drag the edge of a table to move it to a new location on a slide.
To resize a table:
Click and drag the sizing handles until the table is the desired size.

To add a row or column:
Click a cell adjacent to the location where you want to add a row or column. In our example, we'll select the cell that says Mystery.

Click the Layout tab on the right side of the Ribbon.
Locate the Rows & Columns group. If you want to insert a new row, select either Insert Above or Insert Below. If you want to insert a new column, select either Insert Left or Insert Right.

The new row or column will appear.

To delete a row or column:
Select the desired row or column. In our example, we'll select the empty row at the bottom of the table.

From the Layout tab in the Rows & Columns group, click the Delete command, then select Delete Rows or Delete Columns from the menu.

The selected row or column will be deleted.

You can also access the Insert and Delete commands by right-clicking a table.

To delete a table:
Click the edge of the table you want to delete, then press the Backspace or Delete key on your keyboard.

