

What is Slide Master view?
Slide Master view is a special feature in PowerPoint that allows you to quickly modify the slides and slide layouts in your presentation. From there, you can edit the slide master, which will affect every slide in the presentation. You can also modify individual slide layouts, which will change any slides using those layouts.
For example, let's say you find a theme you like but you don't like a few of the slide layouts. You could use Slide Master view to customize the layouts to look exactly the way you want.

In Slide Master view, the Slide Master tab will appear first on the Ribbon, but you'll still be able to access commands on different tabs as normal.
Using Slide Master view
Whether you're making significant changes to your slides or just a few small tweaks, Slide Master view can help you create a consistent, professional presentation without a lot of effort. You could use Slide Master view to change just about anything in your presentation, but here are some of its most common uses.
- Modify backgrounds: Slide Master view makes it easy to customize the background for all of your slides at the same time. For example, you could add a watermark or logo to each slide in your presentation, or you could modify the background graphics of an existing PowerPoint theme.
- Rearrange placeholders: If you find that you often rearrange the placeholders on each slide, you can save time by rearranging them in Slide Master view instead. When you adjust one of the layouts in Slide Master view, all of the slides with that layout will change.
- Customize text formatting: Instead of changing the text color on each slide individually, you could use the Slide Master to change the text color on all slides at once.
- Create unique slide layouts: If you want to create a presentation that looks different from regular PowerPoint themes, you could use Slide Master view to create your own layouts. Custom layouts can include your own background graphics and placeholders.
Some overall presentation changes—like customizing the theme fonts and theme colors—can be made quickly from the Design tab. Review our lesson on Modifying Themes to learn more.
To make changes to all slides:
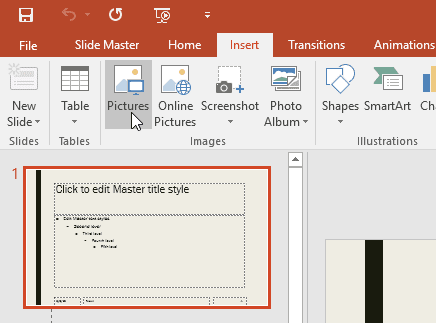
If you want to change something on all slides of your presentation, you can edit the Slide Master. In our example, we'll add a logo to every slide. If you'd like to work along with our example, right-click the image below and save it to your computer.
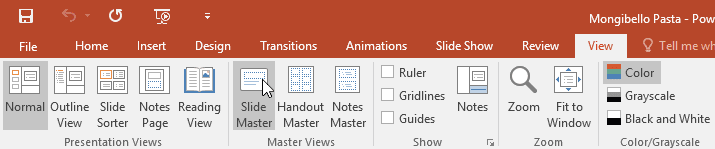
Select the View tab, then click the Slide Master command.
The presentation will switch to Slide Master view, and the Slide Master tab will be selected on the Ribbon.
In the left navigation pane, scroll up and select the first slide. This is the slide master.

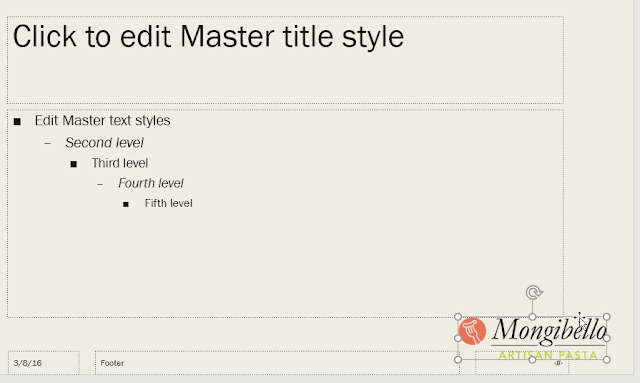
Make the desired changes to the slide master. In our example, we’ll insert a picture of the Mongibello logo.
Move, resize, or delete slide objects as needed. In our example, we'll resize the logo and move it to the bottom-right corner.
When you’re finished, click the Close Master View command on the Slide Master tab.

The change will appear on all slides of the presentation.

When you make a change to the slide master, it's a good idea to review your presentation to see how it affects each slide. You may find that some of your slides don't look exactly right. On the next page, we'll show you how to fix this by customizing individual slide layouts.