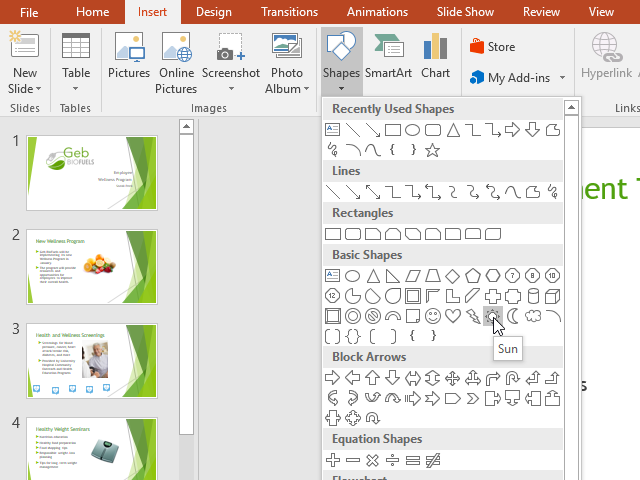
To insert a shape:
Select the Insert tab, then click the Shapes command in the Illustrations group. A drop-down menu of shapes will appear.
Select the desired shape.

Click and drag in the desired location to add the shape to the slide.

Modifying a shape or text box
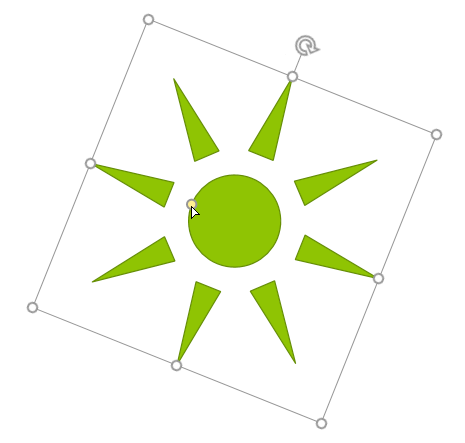
When you click a shape or text box, handles will appear that let you manipulate the shape. There are several types of handles.
Sizing handles: Click and drag the sizing handles until the shape or text box is the desired size. You can use the corner sizing handles to change the height and width at the same time.

Rotation handle: Click and drag the rotation handle to rotate the shape.

Yellow handles: Some shapes have one or more yellow handles that can be used to customize the shape. For example, with the sun shape, you can change the proportions of the shape.

In addition to resizing, customizing, and rotating shapes, you can align, order, and group them. To learn more, see our Aligning, Ordering, and Grouping Objects lesson.

