

To insert a picture from a file:
If you have a specific image in mind, you can insert a picture from a file. In our example, we'll insert a picture saved locally on our computer. If you'd like to work along with our example, right-click the image below and save it to your computer.
Place the insertion point where you want the image to appear.
Select the Insert tab on the Ribbon, then click the Pictures command.

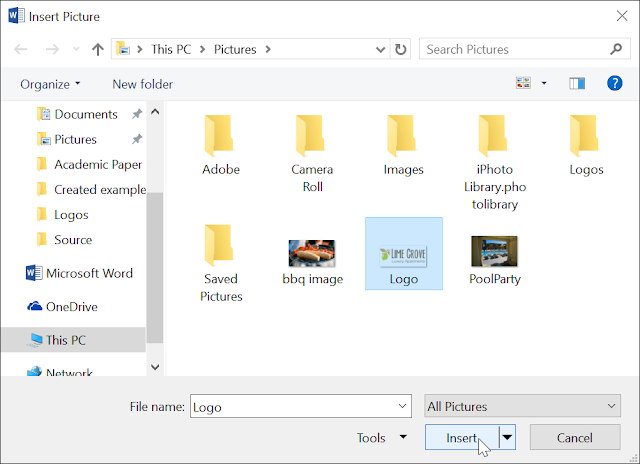
The Insert Picture dialog box will appear. Navigate to the folder where your image is located, then select the image and click Insert.
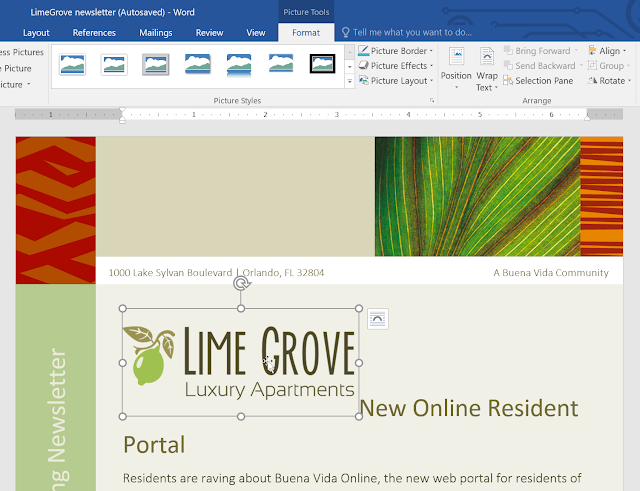
The image will appear in the document.

To resize an image, click and drag one of the corner sizing handles. The image will change size while keeping the same proportions. If you want to stretch it horizontally or vertically, you can use the side sizing handles.

Changing text wrapping settings
When you insert a picture from a file, you may notice that it's difficult to move it exactly where you want. This is because the text wrapping for the image is set to In Line with Text. You'll need to change the text wrapping setting if you want to move the image freely, or if you just want the text to wrap around the image in a more natural way.
To wrap text around an image:
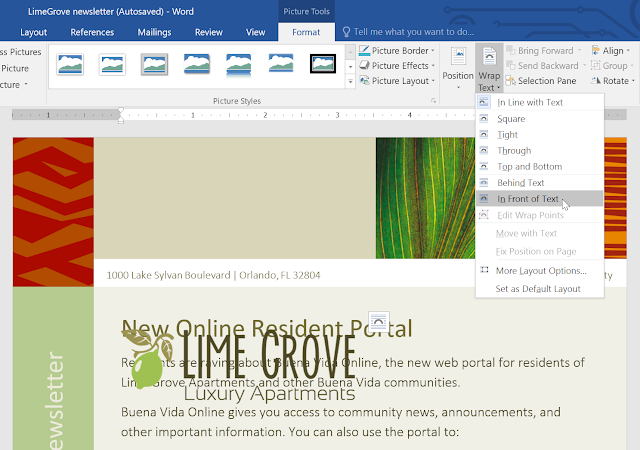
Select the image you want to wrap text around. The Format tab will appear on the right side of the Ribbon.
On the Format tab, click the Wrap Text command in the Arrange group. Then select the desired text wrapping option. In our example, we'll select In Front of Text so we can freely move it without affecting the text. Alternatively, you can select More Layout Options to fine tune the layout.
The text will wrap around the image. You can now move the image if you want. Just click and drag it to the desired location. As you move it, alignment guides will appear to help you align the image on the page.
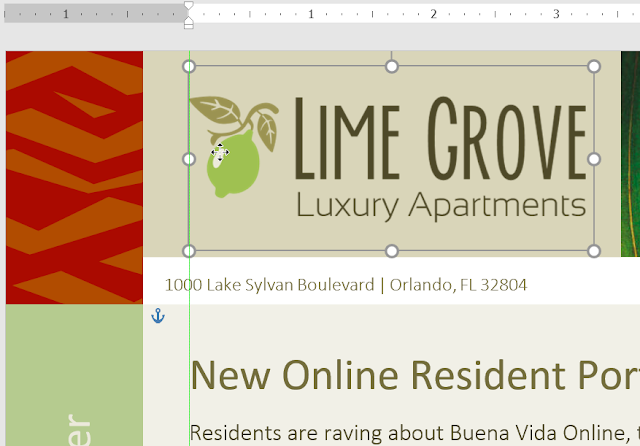
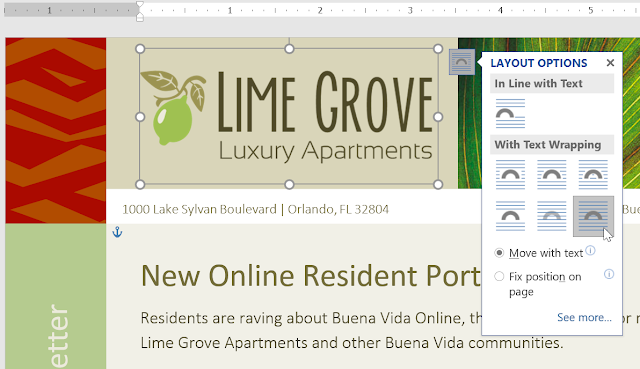
Alternatively, you can access text wrapping options by selecting the image and clicking the Layout Options button that appears.
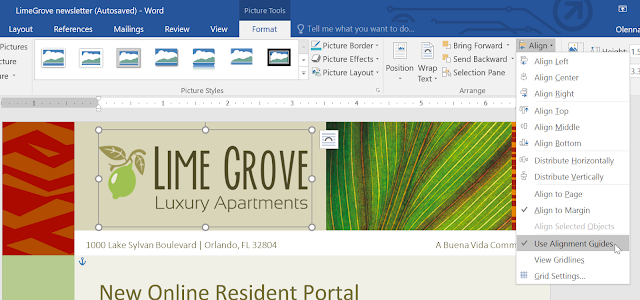
If the alignment guides do not appear, select the Page Layout tab, then click the Align command. Select Use Alignment Guides from the drop-down menu that appears.
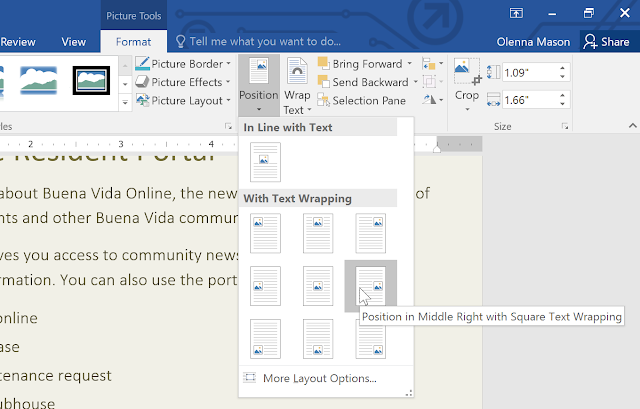
Using a predefined text wrapping setting
Predefined text wrapping allows you to quickly move the image to a specific location on the page. The text will automatically wrap around the object so it's still easy to read.
Inserting online pictures
If you don't have the picture you want on your computer, you can find a picture online to add to your document. Word offers two options for finding online pictures.
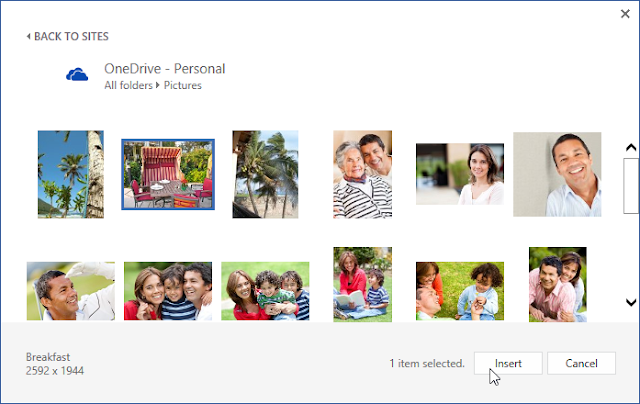
OneDrive: You can insert an image stored on your OneDrive. You can also link other online accounts with your Microsoft account, such as Facebook and Flickr.
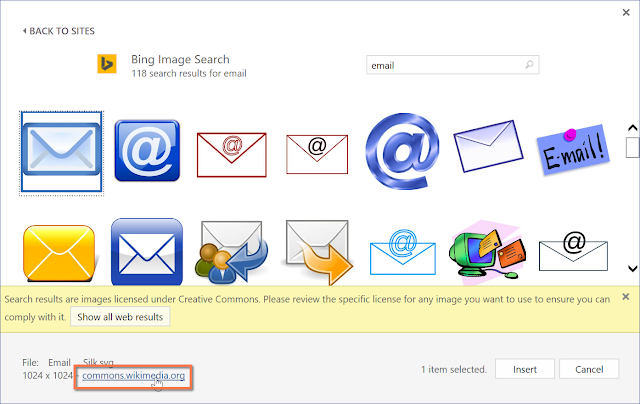
Bing Image Search: You can use this option to search the Internet for images. By default, Bing only shows images that are licensed under Creative Commons, which means you can use them for your own projects. However, you should click the link to the image's website to see if there are any restrictions on how it can be used.
.