

Understanding levels
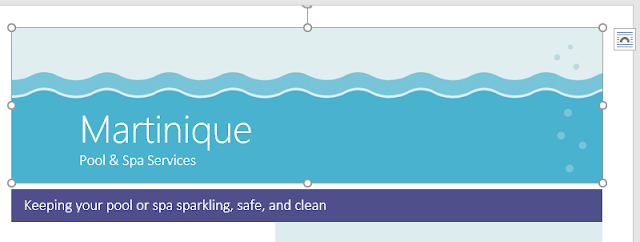
Objects are placed on different levels according to the order in which they were inserted into a document. In the example below, if we move the waves image to the beginning of the document, it covers up several of the text boxes. That's because the image is currently on the highest—or top—level. However, we can change its level to put it behind the other objects.
an object covering up other objects on the page
To change an object's level:
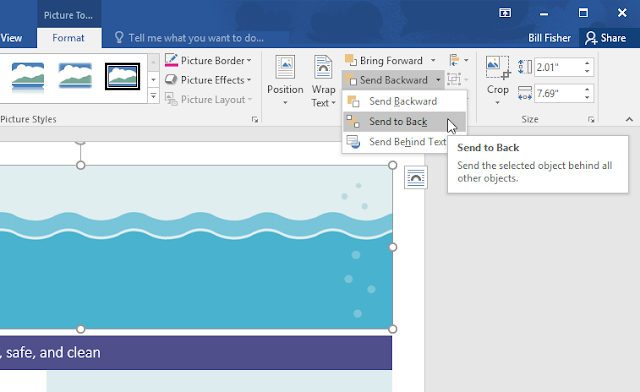
Select the object you want to move. In our example, we'll select the image of the waves.
From the Format tab, click the Bring Forward or Send Backward command to change the object's ordering by one level. In our example, we'll select Send Backward.

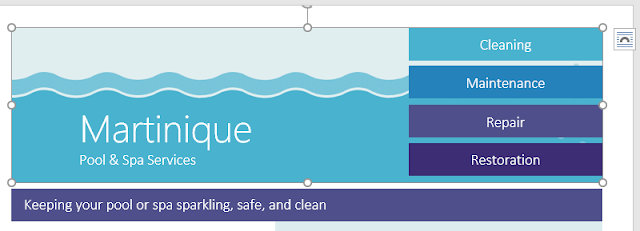
The objects will be reordered. In our example, the image is now behind the text on the left, but it's still covering the shapes on the right.
If you want to move an object behind or in front of several objects, it's usually faster to use Bring Forward or Send Backward instead of clicking the other ordering command multiple times.
In our example, the image has been moved behind everything else on the page, so all of the other text and shapes are visible.
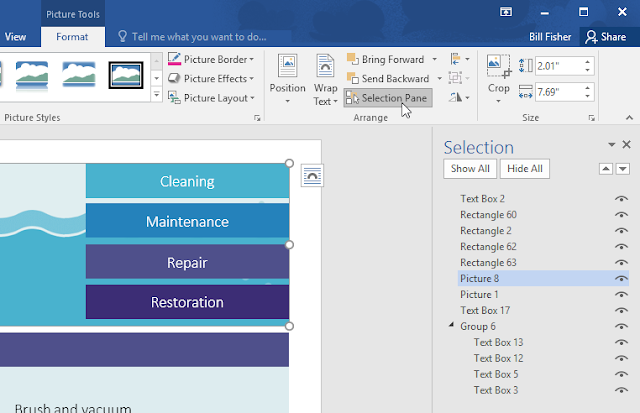
If you have several objects placed on top of each other, it may be difficult to select an individual object. The Selection Pane allows you to easily drag an object to a different level. To view the Selection Pane, click Selection Pane on the Format tab.
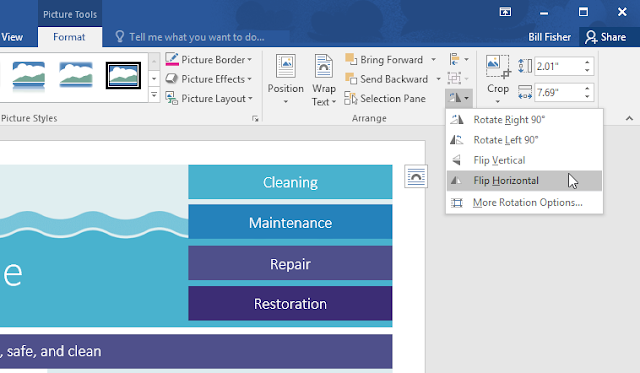
To rotate or flip an object:
If you need to turn an object so it faces a different direction, you can rotate it to the left or right, or you can flip it horizontally or vertically.
With the desired object selected, click the Rotate command on the Format tab, then choose the desired rotation option. In our example, we'll choose Flip Horizontal.
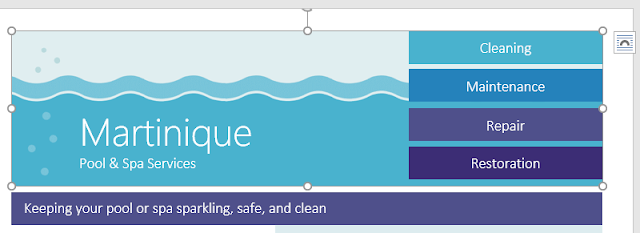
The object will be rotated. In our example, we can now see the bubbles on the left that were previously hidden behind the text boxes.
.