

To add a column break:
In our example below, we'll add a column break that will move text to the beginning of the next column.
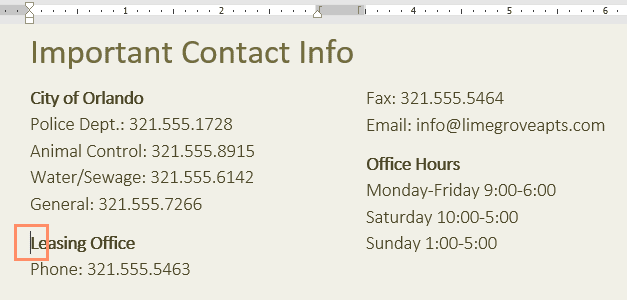
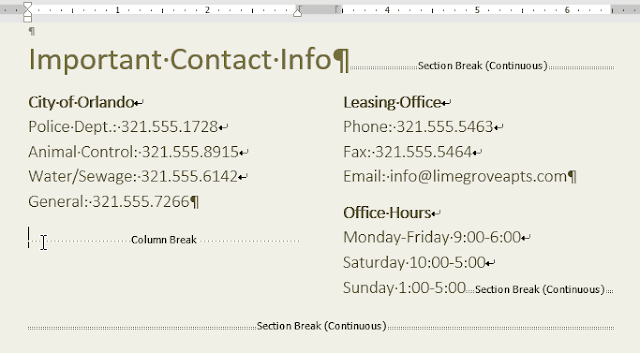
Place the insertion point at the beginning of the text you want to move.
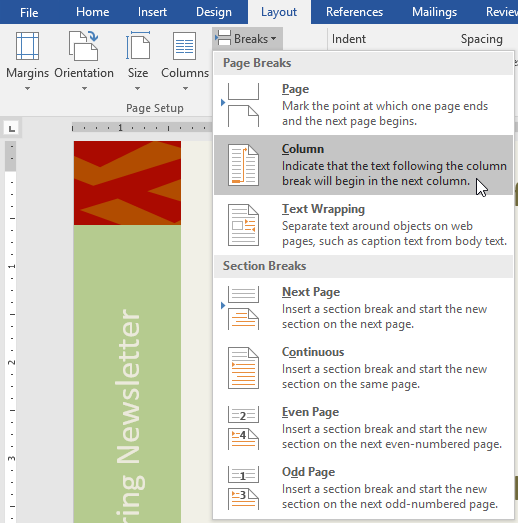
Select the Layout tab, then click the Breaks command. A drop-down menu will appear.
Select Column from the menu.
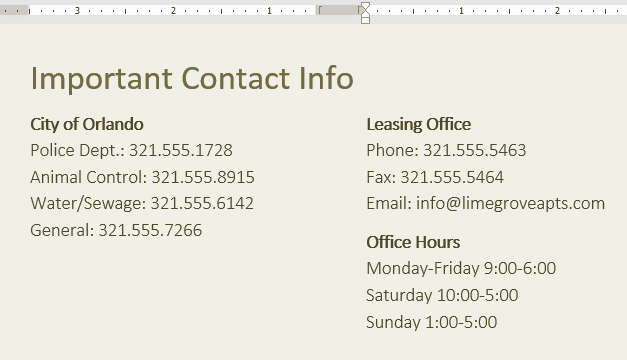
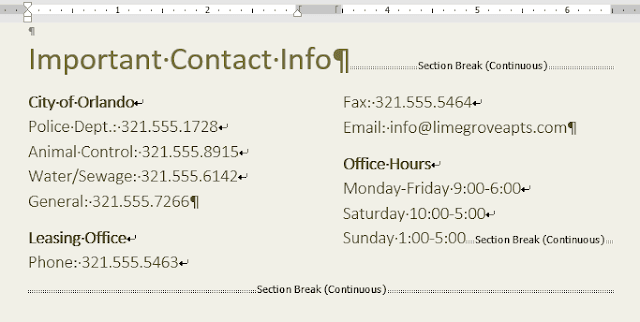
The text will move to the beginning of the column. In our example, it moved to the beginning of the next column.
To learn more about adding breaks to your document, visit our lesson on Breaks.
To remove column breaks:
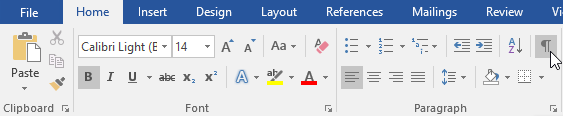
By default, breaks are hidden. If you want to show the breaks in your document, click the Show/Hide command on the Home tab.
Place the insertion point to the left of the break you want to delete.
Press the delete key to remove the break.
 .
.