DW Faisalabad New Version

DW Faisalabad New Version
Please Jump to New Version
Showing posts with label Print. Show all posts

Sunday, 23 April 2017

Print Area

If you set a print area in Excel, only that area will be printed. The print area is saved when you save the workbook.

To set a print area, execute the following steps.

1. Select a range of cells.


2. On the Page Layout tab, in the Page Setup group, click Print Area.


3. Click Set Print Area.


4. Save, close and reopen the Excel file.

5. On the File tab, click Print.

Result. See the print preview below. Only the print area will be printed.


6. Use the Name Manager to edit and delete print areas.
.
Read More »

Print Gridlines and Headings

Print gridlines (the horizontal and vertical lines on your worksheet) and row/column headers (1, 2, 3 etc. and A, B, C etc.) to make your printed copy easier to read.

To print gridlines and headings in Excel, execute the following steps.

1. On the Page Layout tab, in the Sheet Options group, check Print under Gridlines and check Print under Headings.


2. On the File tab, click Print for a print preview.

.
Read More »

Center on Page

To center a range of cells on a printed page in Excel automatically, execute the following steps.

1. On the File tab, click Print.

2. Click 'Custom Margins' from the Margins drop-down list.


3. Next, check horizontally and vertically.


4. Click OK.


.
Read More »

Print Titles

You can specify rows and columns in Excel that will be printed on each printed page. This can make your printed copy easier to read.

To print titles, execute the following steps.

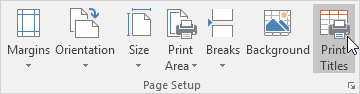
1. On the Page Layout tab, in the Page Setup group, click Print Titles.


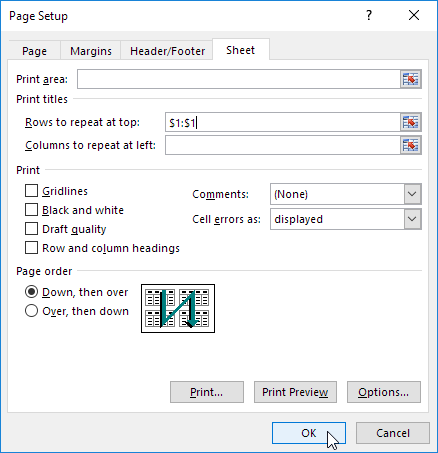
The Page Setup dialog box appears.

2. To repeat row 1 at the top of each printed page, click in the corresponding box and select row 1.

3. Click OK.


Note: in a similar way, you can repeat columns at the left of each printed page.

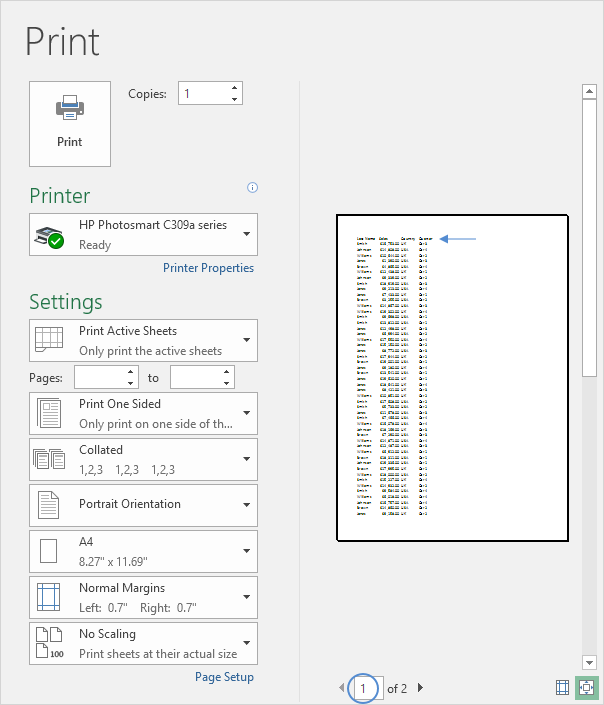
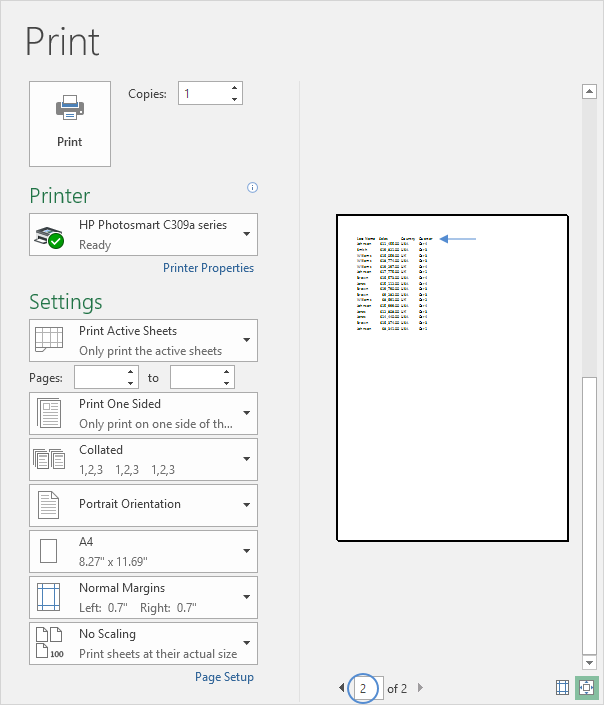
4. On the File tab, click Print for a print preview.

The labels (LastName, Sales, Country and Quarter) appear on page 1 and page 2.


.
Read More »

Page Numbers

This example teaches you how to print page numbers in Excel.

1. On the View tab, in the Workbook Views group, click Page Layout, to switch to Page Layout view.


2. Click Add footer.


The Header & Footer Tools contextual tab activates.

3. On the Design tab, in the Header & Footer Elements group, click Page Number to add the page number.


4. Type " of "

5. On the Design tab, in the Header & Footer Elements group, click Number of Pages to add the number of pages.


Result:


Note: Excel uses codes in order to automatically update the header or footer as you change the workbook.

6. Click somewhere else on the sheet to see the footer.


7. On the Design tab, in the Options group, you can add a different first page header/footer and a different header/footer for odd and even pages.


8. On the View tab, in the Workbook Views group, click Normal, to switch back to Normal view.
.
Read More »

Headers and Footers

This example teaches you how to add information to the header (top of each printed page) or footer (bottom of each printed page) in Excel.

1. On the View tab, in the Workbook Views group, click Page Layout, to switch to Page Layout view.


2. Click Add header.


The Header & Footer Tools contextual tab activates.

3. On the Design tab, in the Header & Footer Elements group, click Current Date to add the current date (or add the current time, file name, sheet name, etc).


Result:


Note: Excel uses codes in order to automatically update the header or footer as you change the workbook.

4. You can also add information to the left and right part of the header. For example, click the left part to add the name of your company.

5. Click somewhere else on the sheet to see the header.


6. On the Design tab, in the Options group, you can add a different first page header/footer and a different header/footer for odd and even pages.


7. On the View tab, in the Workbook Views group, click Normal, to switch back to Normal view
.
Read More »

Page Breaks

Insert a page break in Excel to specify where a new page will begin in the printed copy.

To insert a horizontal page break, execute the following steps.

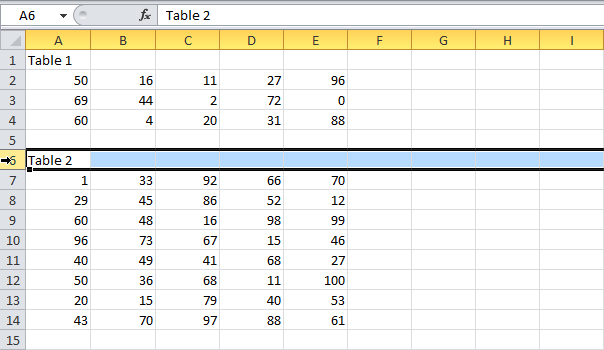
1. Select the first row of the new page.


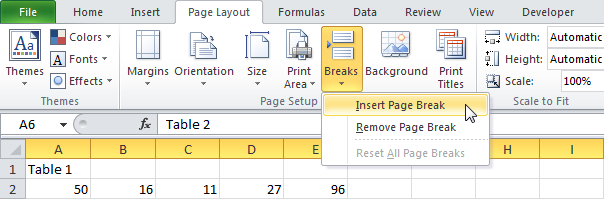
2. On the Page Layout tab, in the Page Setup group, click Breaks.


3. Click Insert Page Break.


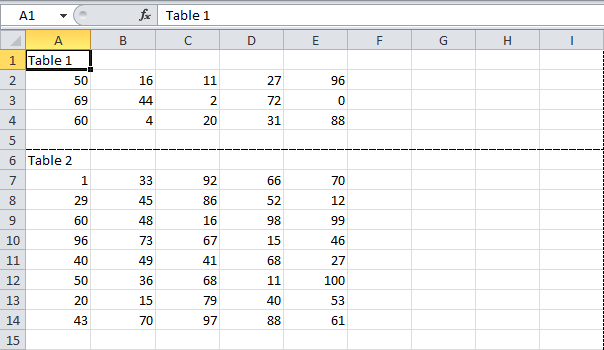
Excel displays a solid line (manual page break) to show you where the new page begins. Dashed lines are page breaks inserted automatically by Excel.


Note: in a similar way, you can select a column to insert a vertical page break.

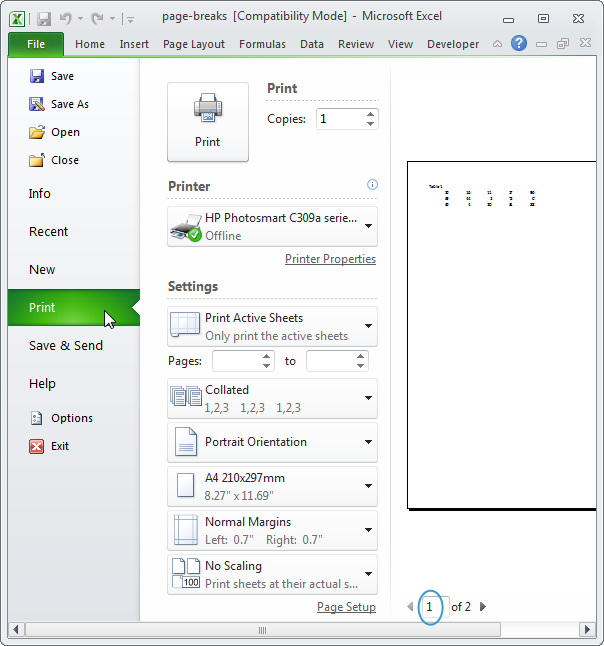
4. On the File tab, click Print for a print preview.


Note: to remove a horizontal page break, select a cell below the page break that you want to remove and click Breaks, Remove Page Break. To remove all manual page breaks, click Breaks, Reset All Page Breaks. You cannot remove automatic page breaks.

.
Read More »

Workbook Views

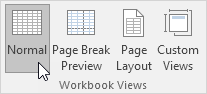
Excel offers three workbooks views, Normal, Page Layout and Page Break Preview.

Normal

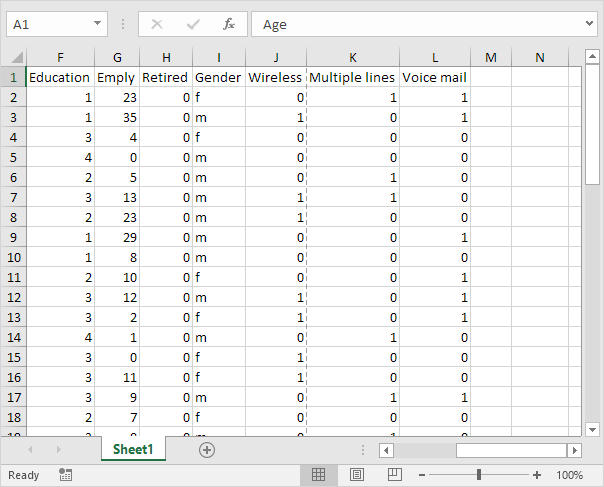
At any time, you can switch back to Normal view.

1. On the View tab, in the Workbook Views group, click Normal.


Result:


Note: if you switch to another view and return to Normal view, Excel displays page breaks. Close and reopen the Excel file to hide these page breaks. To always hide page breaks for this worksheet, click File, Options, Advanced, scroll down to Display options for this worksheet and uncheck Show page breaks.

Page Break Preview

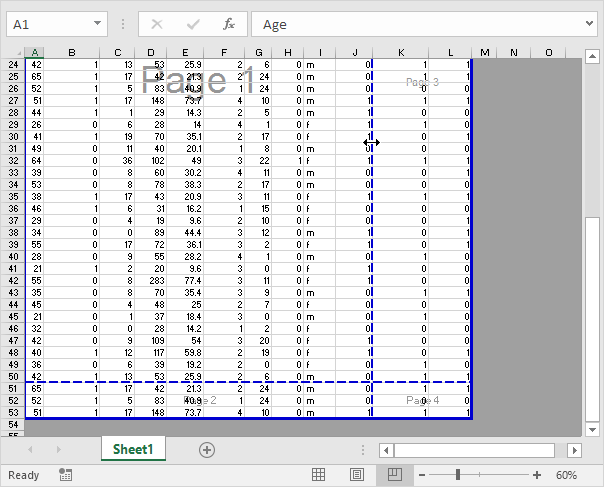
Page Break Preview gives you a nice overview of where pages break when you print the document. Use this view to easily click and drag page breaks.

1. On the View tab, in the Workbook Views group, click Page Break Preview.


Result:


Note: click and drag the page breaks to fit all the information on one page. Be careful, Excel doesn't warn you when your printout becomes unreadable. By default, Excel prints down, then over. In other words, it prints all the rows for the first set of columns. Next, it prints all the rows for the next set of columns, etc. (take a look at the page numbers in the picture above to get the idea). To switch to Print over, then down, click File, Print, Page Setup, on the Sheet tab, under Page order, click Over, then down.

Page Layout

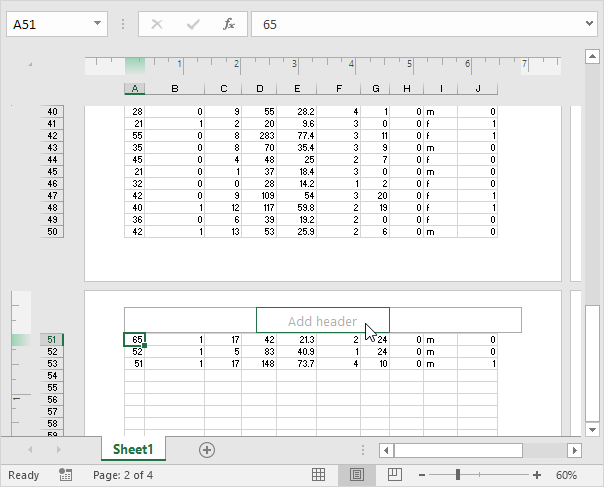
Use Page Layout view to see where pages begin and end, and to add headers and footers.

1. On the View tab, in the Workbook Views group, click Page Layout.


Result:


.
Read More »

Print

This chapter teaches you how to print a worksheet and how to change some important print settings in Excel.

Print a Worksheet

To print a worksheet in Excel, execute the following steps.

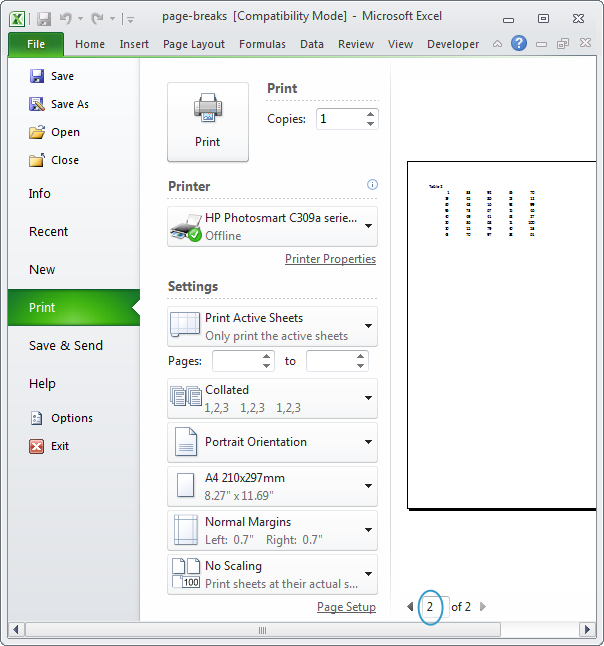
1. On the File tab, click Print.

2. To preview the other pages that will be printed, click 'Next Page' or 'Previous Page' at the bottom of the window.


3. To print the worksheet, click the big Print button.


What to Print

Instead of printing the entire worksheet, you can also only print the current selection.

1. First, select the range of cells you want to print.

2. Next, under Settings, select Print Selection.


3. To print the selection, click the big Print button.


Note: you can also print the active sheets (first select the sheets by holding down CTRL and clicking the sheet tabs) or print the entire workbook. Use the boxes next to Pages (see first screenshot) to only print a few pages of your document. For example, 2 to 2 only prints the second page.

Multiple Copies

To print multiple copies, execute the following steps.

1. Use the arrows next to the Copies box.

2. If one copy contains multiple pages, you can switch between Collated and Uncollated. For example, if you print 6 copies, Collated prints the entire first copy, then the entire second copy, etc. Uncollated prints 6 copies of page 1, 6 copies of page 2, etc.


Orientation

You can switch between Portrait Orientation (more rows but fewer columns) and Landscape Orientation (more columns but fewer rows).


Page Margins

To adjust the page margins, execute the following steps.

1. Select one of the predefined margins (Normal, Wide or Narrow) from the Margins drop-down list.

2. Or click the 'Show Margins' icon at the bottom right of the window. Now you can drag the lines to manually change the page margins.


Scaling

If you want to fit more data on one page, you can fit the sheet on one page. To achieve this, execute the following steps.

1. Select 'Fit Sheet on One Page' from the Scaling drop-down list.


Note: you can also shrink the printout to one page wide or one page high. Click Custom Scaling Options to manually enter a scaling percentage or to fit the printout to a specific number of pages wide and tall. Be careful, Excel doesn't warn you when your printout becomes unreadable.


.
Read More »

Wednesday, 29 March 2017

Page Breaks

Insert a page break in Excel to specify where a new page will begin in the printed copy.

To insert a horizontal page break, execute the following steps.

1. Select the first row of the new page.


2. On the Page Layout tab, click Breaks, Insert Page Break.


Excel displays a dashed line to show you where the new page begins.


3. On the File tab, click Print for a print preview.


Note: select an adjacent cell and click Breaks, Remove Page Break to remove a single page break. Click Breaks, Reset All Page Breaks to remove all manual page breaks. In a similar way, you can select a column to insert a vertical page break.
.
Read More »